It goes without saying that the List Selector is one of Jostle's most useful features. Chances are, if you’ve ever created or added anything in your Jostle platform, you’ve used List Selector to set who can see it, read it, or join it.
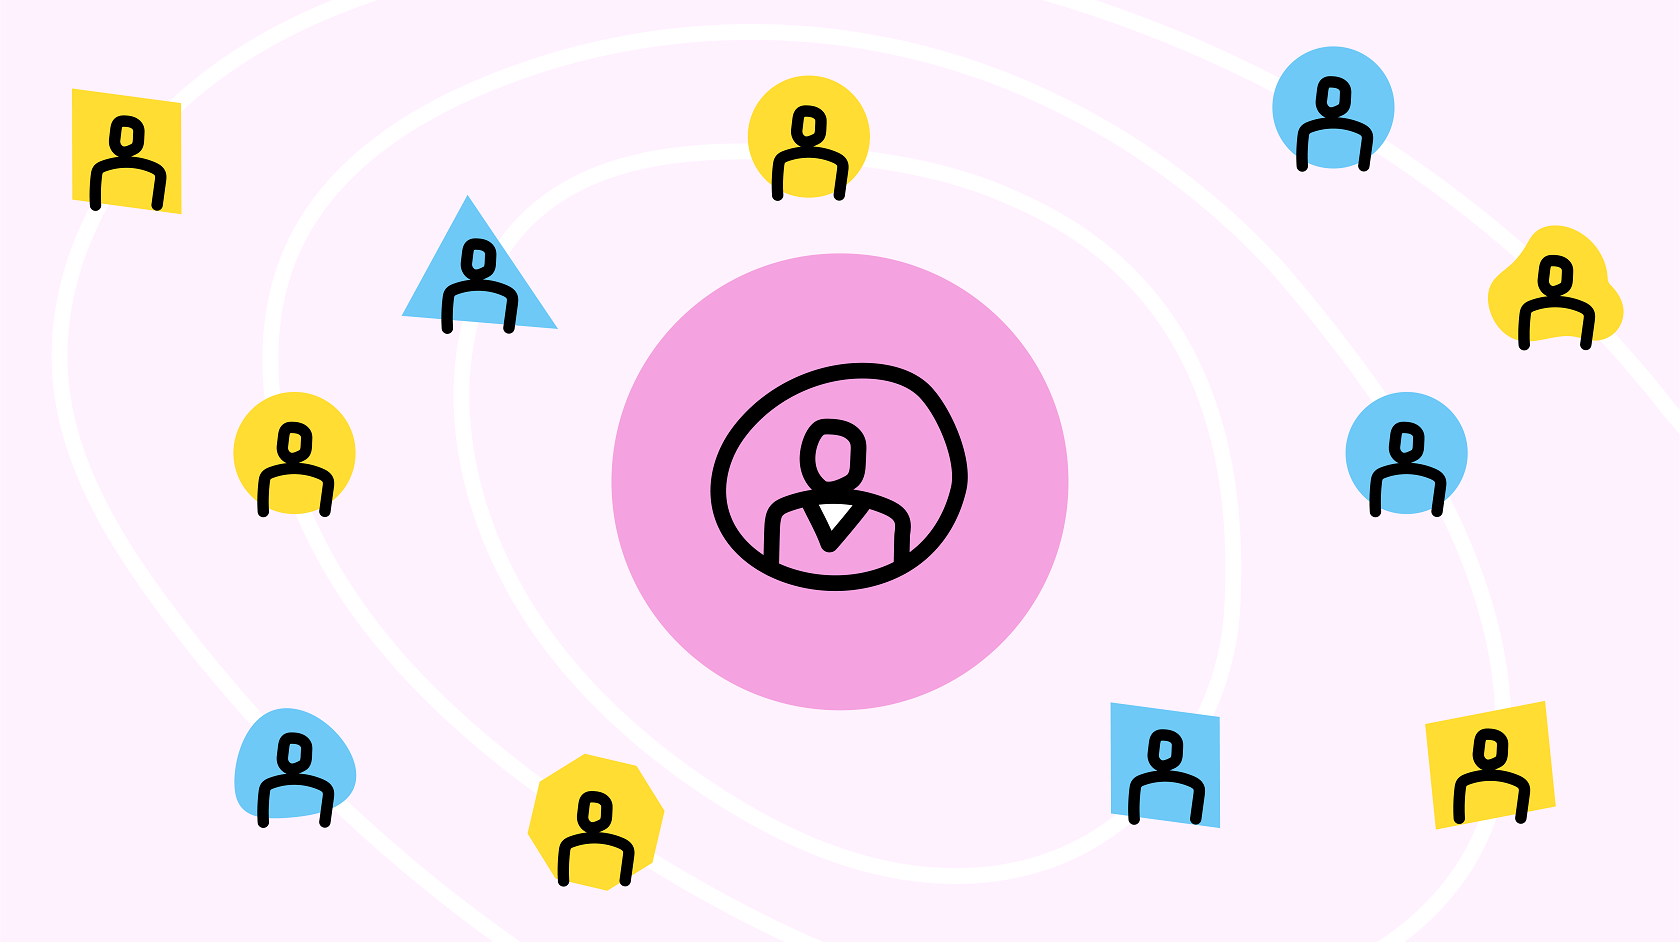
List Selector helps ensure everyone in your platform only sees content that is relevant to them. You can use it to create customized target audiences that combine individual people, teams, departments, or everyone in a certain location, city, or country.

However, with the ability to make such unique and varied lists comes some problems. What happens when you find you’re targeting more and more items to the same customized group? Do you have to build the whole list from scratch each time? And how can you be sure that you're not leaving anyone out? And what if someone else wants to target an item to that same group?
Enter List Presets. Another one of Jostle’s hidden gems, List Presets lets System Admins create and save customized lists that can then be accessed when setting the visibility for items posted in News, Library, Events, Tasks, or Listings (aka Classifieds).
How it works is simple:
1. First, go to People, click the gear icon, and select List Presets.

2. Next, on the List Presets page, click the "+" and select Add List Preset.
3. Then use List Selector to create your customized list and when you're done, click Save.
Now, even though List Presets can only be created by System Admins, any Reporter, Editor, Manager, Creator, or Librarian can see and use List Presets when creating their respective News items, Events notices, Listings posts, or Library Volumes.
Once created, a List Preset can be accessed when editing the visibility settings for an item, right when you would usually access the List Selector. Just click on the "Visible to" drop-down menu and you’ll see the List Presets subheading.

From there, just:
1. Select the Preset you want.
2. Click the number next to “People...” at the bottom of the List Selector to verify who’s included in that Preset.

3. Then click Continue.
And boom—you’ve now got a correctly-targeted item that required no guesswork and everyone was added in a fraction of the time it usually takes.
So, List Presets are both convenient and accurate...but you’re still not quite sure what kind of customized groups you would need to use them for? Well, we just so happen to have a few possible types listed right here (with examples)!
- People/Teams in a collective group (Everyone in customer-facing roles)
- Groups + Leadership (Everyone in Vancouver + CEO, CFO, and all VPs)
- Teams across multiple locations (Sales* teams in Portland, San Jose, and San Diego)
- Combined group (A one-off project team with multiple members)
*As with List Selector, including a dynamic group like “Sales” in a list means that whenever anyone new joins that group, they’ll automatically get access to everything that “Sales” has been included on.
But wait—there’s more! There are a few unique areas where List Presets also come into play! You can use List Presets when:
- Enabling the “Share this Category” option in Links
- Assigning a publishing restriction on a Reporter Group in News
- Assigning new Reporters, Librarians, or other Admin roles
And that about covers it for this overview of List Presets! So, if you’ve been sleeping on List Presets all this time, hopefully this becomes your wake-up call!